Geometry#
gdsfactory provides you with some geometric functions
Boolean#
There are several common boolean-type operations available in the geometry library. These include typical boolean operations (and/or/not/xor), offsetting (expanding/shrinking polygons), outlining, and inverting.
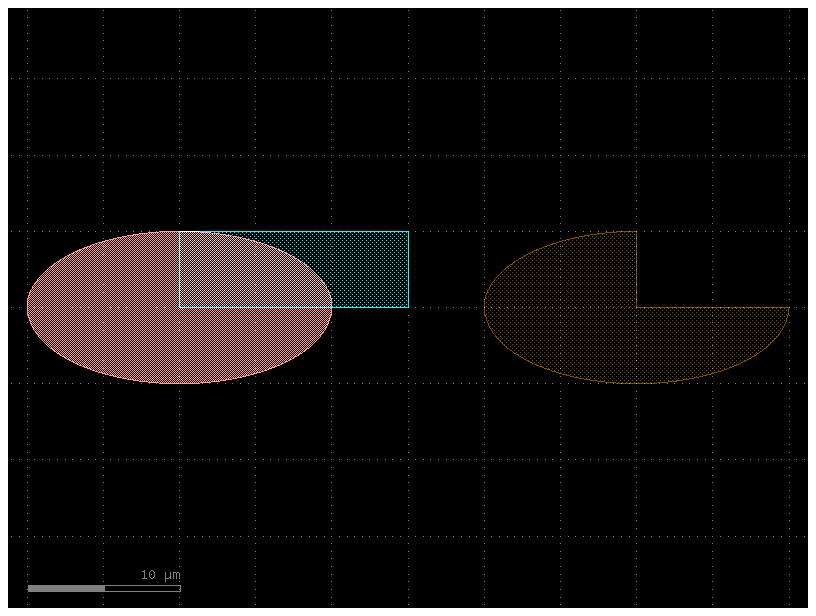
The gf.boolean() function can perform AND/OR/NOT/XOR operations, and will return a new geometry with the result of that operation.
import gdsfactory as gf
gf.gpdk.PDK.activate()

E = gf.components.ellipse(radii=(10, 5), layer=(1, 0))
R = gf.components.rectangle(size=(15, 5), layer=(2, 0))

# A new component C is created by performing a boolean operation.
# A=E, B=R: E is the shape to be subtracted from, and R is the shape to subtract.
# operation="not": This specifies the subtraction operation (A - B).
# layer1=(1, 0), layer2=(2, 0): The operation uses the shapes from layer (1, 0) of component E and layer (2, 0) of component R.
# layer=(3, 0): The final, resulting shape is placed on a new layer, (3, 0).
C = gf.boolean(A=E, B=R, operation="not", layer1=(1, 0), layer2=(2, 0), layer=(3, 0))


# Other operations include 'and', 'or', 'xor', or equivalently 'A-B', 'B-A', 'A+B'.

# Plot the originals and the result.
D = gf.Component()
D.add_ref(E)
D.add_ref(R)
D.add_ref(C).movex(30)
D.plot()
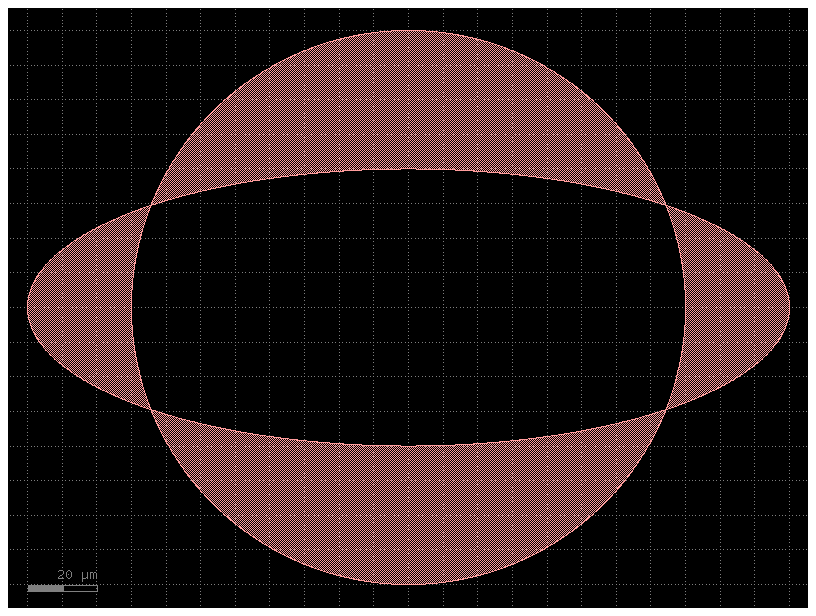
To learn how booleans work you can try all the different operations not, and, or, xor.
operation = "not" # This is subtraction (A - B). It keeps the parts of shape A that do not overlap with shape B.
operation = "and" # This is intersection (A ∩ B). It keeps only the parts where shape A and shape B overlap.
operation = "or"  # This is union (A ∪ B). It combines shape A and shape B into a single, merged shape.
operation = "xor" # This is exclusive OR (symmetric difference). It keeps the parts of shape A and shape B that do not overlap.

r1 = (8, 8)
r2 = (11, 4)
r1 = (80, 80)
r2 = (110, 40)

angle_resolution = 0.1

c1 = gf.components.ellipse(radii=r1, layer=(1, 0), angle_resolution=angle_resolution)
c2 = gf.components.ellipse(radii=r2, layer=(1, 0), angle_resolution=angle_resolution)
c4 = gf.boolean(c1, c2, operation=operation, layer=(1, 0))
c4.plot()
Flatten#
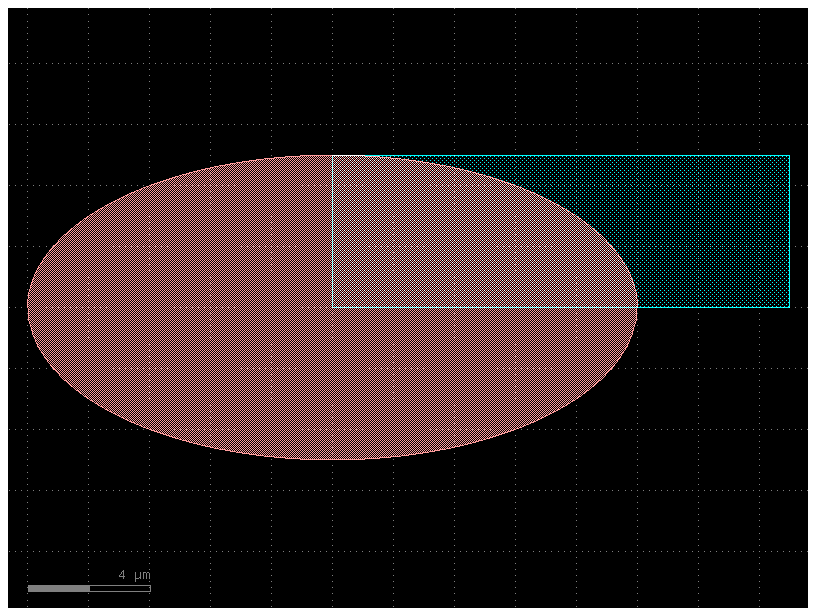
Hierarchical GDS uses references to optimize memory usage, but there are times when you may want to merge all polygons. In such cases, you can flatten the GDS to absorb all the references.
import gdsfactory as gf

c = gf.Component()
e = c << gf.components.ellipse(
    radii=(10, 5), layer=(1, 0)
)  # Ellipse. equivalent to c.add_ref(gf.components.ellipse(radii=(10, 5), layer=(1, 0)).
r = c << gf.components.rectangle(
    size=(15, 5), layer=(2, 0)
)  # Rectangle. equivalent to c.add_ref(gf.components.rectangle(size=(15, 5), layer=(2, 0)).
print(len(c.insts))  # 2 component instances.

# This command flattens the component c, removing all levels of hierarchy.
# It replaces all instances (references) of sub-components with copies of their raw geometric shapes.
c.flatten()
print(len(c.insts))  # 0 in the flattened component.
c
2
0
Fix min space violations#
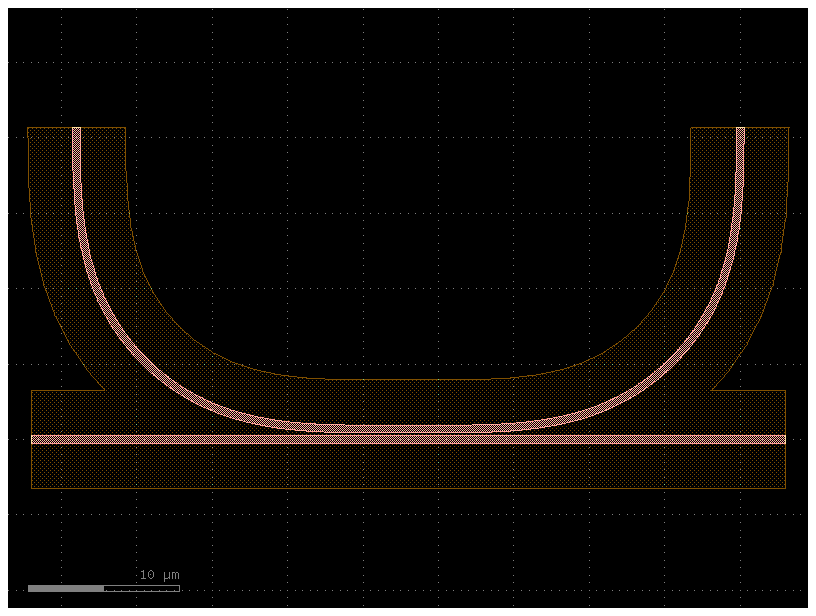
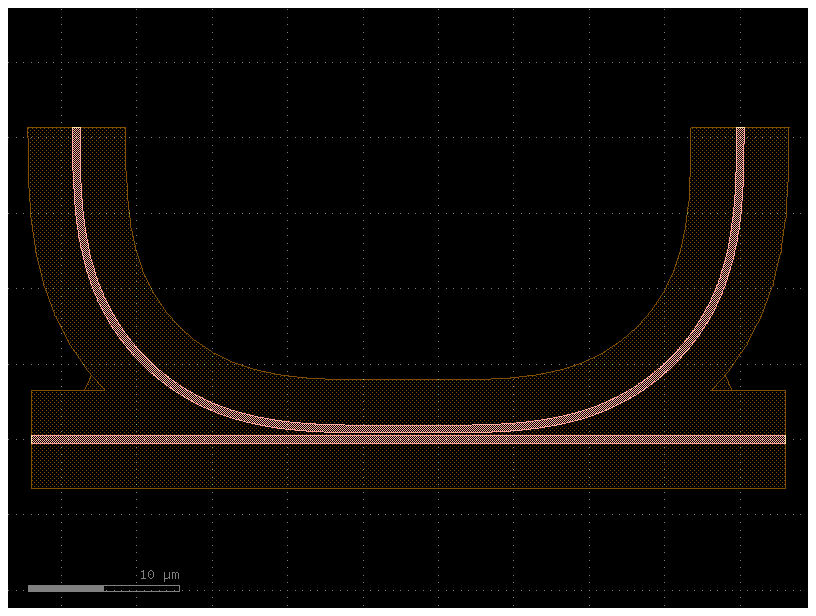
You can use fix_spacing to fix min space violations.
c = gf.components.coupler_ring(cross_section='rib')
c
c = c.copy()
c.fix_spacing(layer=(3,0), min_space=1)
c
Fix min width violations#
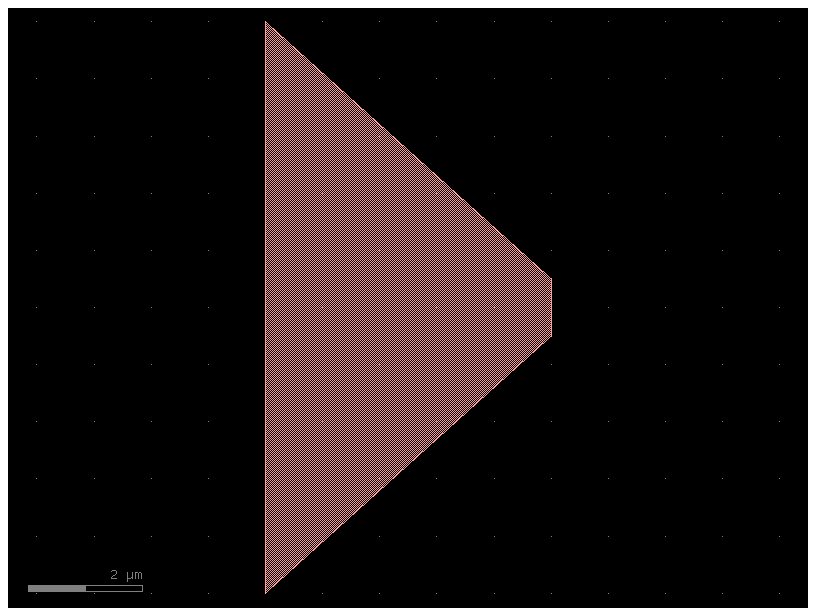
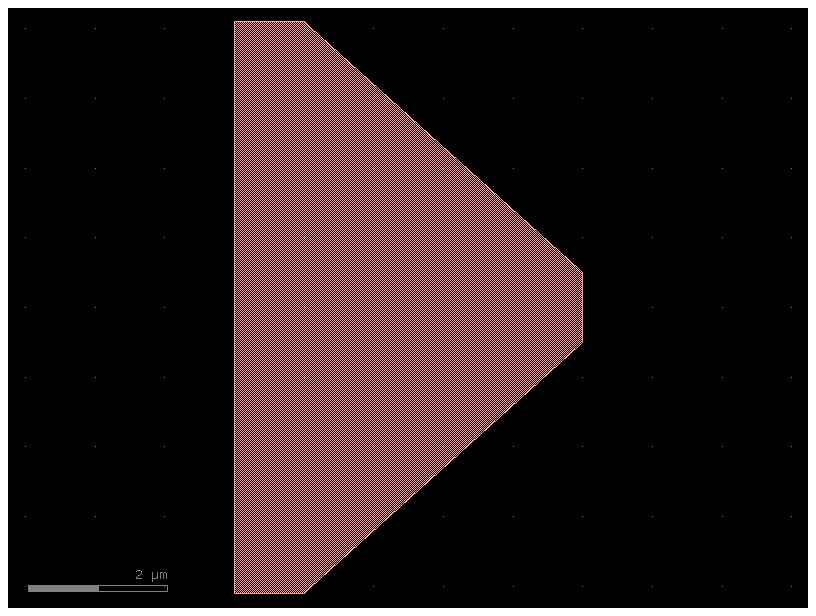
Some PDKs have minimum width rules, where a geometry is too narrow and needs to be widened. GDSFactory provides a function to fix this.
c = gf.c.taper(width1=10, width2=1, length=5)
c
c = gf.c.taper(width1=10, width2=1, length=5).copy()
c.fix_width(layer=(1, 0), min_width=1)
c
2026-02-03 01:52:34.122 | INFO | kfactory.utils.violations:fix_width_minkowski_tiled:351 - Starting minkowski on taper_gdsfactorypcomponentsptapersptaper_L5_W10_W1_LNon_8fbf197e$1
Offset#
import gdsfactory as gf
from gdsfactory.gpdk import LAYER

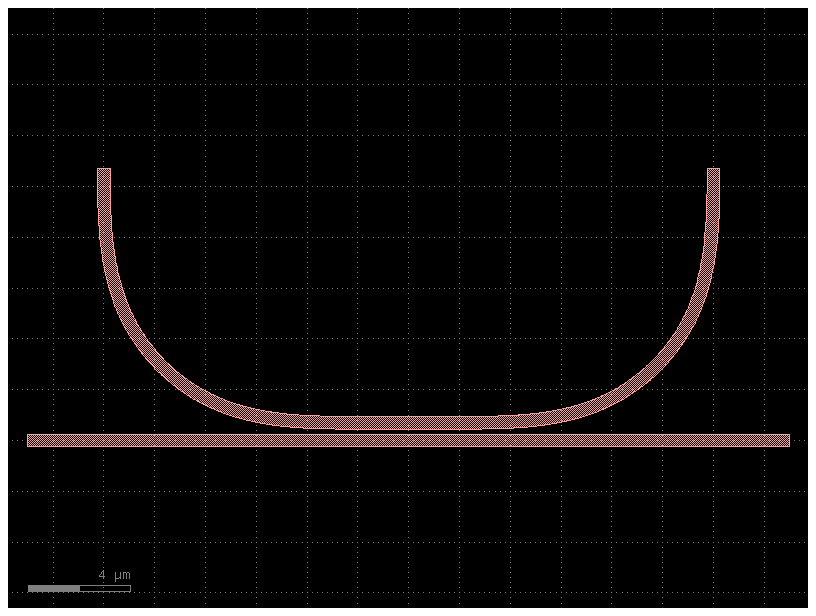
c = gf.components.coupler_ring()
c
r = c.get_region(LAYER.WG)
r
(-17000,-250;-17000,250;13000,250;13000,-250);(-4416,450;-4556,451;-4695,451;-4834,452;-4973,454;-5253,458;-5392,461;-5532,465;-5812,475;-5953,481;-6233,497;-6373,506;-6514,517;-6654,529;-6795,542;-6935,556;-7075,572;-7216,590;-7356,609;-7496,630;-7636,652;-7776,677;-7915,703;-8055,731;-8194,761;-8332,793;-8471,828;-8609,864;-8746,903;-8883,944;-9019,988;-9155,1034;-9289,1082;-9423,1133;-9556,1187;-9688,1243;-9819,1302;-9949,1363;-10078,1427;-10205,1494;-10331,1563;-10455,1634;-10579,1708;-10700,1784;-10820,1863;-10939,1944;-11056,2027;-11171,2112;-11285,2200;-11397,2290;-11507,2382;-11615,2476;-11721,2573;-11826,2671;-11928,2772;-12029,2874;-12127,2979;-12224,3085;-12318,3193;-12410,3303;-12500,3415;-12588,3529;-12673,3644;-12756,3761;-12837,3880;-12916,4000;-12992,4121;-13066,4245;-13137,4369;-13206,4495;-13273,4622;-13337,4751;-13398,4881;-13457,5012;-13513,5144;-13567,5277;-13618,5411;-13666,5545;-13712,5681;-13756,5817;-13797,5954;-13836,6091;-13872,6229;-13907,6368;-13939,6506;-13969,6645;-13997,6785;-14023,6924;-14048,7064;-14070,7204;-14091,7344;-14110,7484;-14128,7625;-14144,7765;-14158,7905;-14171,8046;-14183,8186;-14194,8327;-14203,8467;-14219,8747;-14225,8888;-14235,9168;-14239,9308;-14242,9447;-14246,9727;-14248,9866;-14249,10005;-14249,10144;-14250,10284;-14250,10700;-13750,10700;-13750,10285;-13749,10146;-13749,10008;-13748,9870;-13746,9733;-13742,9457;-13739,9320;-13735,9183;-13731,9045;-13725,8908;-13719,8772;-13712,8635;-13704,8498;-13695,8362;-13685,8226;-13661,7954;-13647,7819;-13631,7684;-13614,7549;-13596,7415;-13576,7280;-13554,7147;-13531,7013;-13506,6880;-13480,6748;-13451,6616;-13420,6484;-13388,6354;-13353,6223;-13317,6094;-13278,5965;-13237,5837;-13194,5710;-13149,5584;-13101,5459;-13051,5335;-12999,5212;-12944,5090;-12887,4969;-12827,4849;-12765,4731;-12701,4613;-12635,4497;-12566,4383;-12495,4269;-12422,4157;-12346,4047;-12269,3938;-12189,3831;-12107,3725;-12024,3621;-11938,3518;-11850,3417;-11760,3318;-11668,3221;-11575,3125;-11479,3032;-11382,2940;-11283,2850;-11182,2762;-11079,2676;-10975,2593;-10869,2511;-10762,2431;-10653,2354;-10543,2278;-10431,2205;-10317,2134;-10203,2065;-10087,1999;-9969,1935;-9851,1873;-9731,1813;-9610,1756;-9488,1701;-9365,1649;-9241,1599;-9116,1551;-8990,1506;-8863,1463;-8735,1422;-8606,1383;-8477,1347;-8346,1312;-8216,1280;-8084,1249;-7952,1220;-7820,1194;-7687,1169;-7553,1146;-7420,1124;-7285,1104;-7151,1086;-7016,1069;-6881,1053;-6746,1039;-6474,1015;-6338,1005;-6202,996;-6065,988;-5928,981;-5792,975;-5655,969;-5517,965;-5380,961;-5243,958;-4967,954;-4830,952;-4692,951;-4554,951;-4415,950;415,950;554,951;692,951;830,952;967,954;1243,958;1380,961;1517,965;1655,969;1792,975;1928,981;2065,988;2202,996;2338,1005;2474,1015;2746,1039;2881,1053;3016,1069;3151,1086;3285,1104;3420,1124;3553,1146;3687,1169;3820,1194;3952,1220;4084,1249;4216,1280;4346,1312;4477,1347;4606,1383;4735,1422;4863,1463;4990,1506;5116,1551;5241,1599;5365,1649;5488,1701;5610,1756;5731,1813;5851,1873;5969,1935;6087,1999;6203,2065;6317,2134;6431,2205;6543,2278;6653,2354;6762,2431;6869,2511;6975,2593;7079,2676;7182,2762;7283,2850;7382,2940;7479,3032;7575,3125;7668,3221;7760,3318;7850,3417;7938,3518;8024,3621;8107,3725;8189,3831;8269,3938;8346,4047;8422,4157;8495,4269;8566,4383;8635,4497;8701,4613;8765,4731;8827,4849;8887,4969;8944,5090;8999,5212;9051,5335;9101,5459;9149,5584;9194,5710;9237,5837;9278,5965;9317,6094;9353,6223;9388,6354;9420,6484;9451,6616;9480,6748;9506,6880;9531,7013;9554,7147;9576,7280;9596,7415;9614,7549;9631,7684;9647,7819;9661,7954;9685,8226;9695,8362;9704,8498;9712,8635;9719,8772;9725,8908;9731,9045;9735,9183;9739,9320;9742,9457;9746,9733;9748,9870;9749,10008;9749,10146;9750,10285;9750,10700;10250,10700;10250,10284;10249,10144;10249,10005;10248,9866;10246,9727;10242,9447;10239,9308;10235,9168;10225,8888;10219,8747;10203,8467;10194,8327;10183,8186;10171,8046;10158,7905;10144,7765;10128,7625;10110,7484;10091,7344;10070,7204;10048,7064;10023,6924;9997,6785;9969,6645;9939,6506;9907,6368;9872,6229;9836,6091;9797,5954;9756,5817;9712,5681;9666,5545;9618,5411;9567,5277;9513,5144;9457,5012;9398,4881;9337,4751;9273,4622;9206,4495;9137,4369;9066,4245;8992,4121;8916,4000;8837,3880;8756,3761;8673,3644;8588,3529;8500,3415;8410,3303;8318,3193;8224,3085;8127,2979;8029,2874;7928,2772;7826,2671;7721,2573;7615,2476;7507,2382;7397,2290;7285,2200;7171,2112;7056,2027;6939,1944;6820,1863;6700,1784;6579,1708;6455,1634;6331,1563;6205,1494;6078,1427;5949,1363;5819,1302;5688,1243;5556,1187;5423,1133;5289,1082;5155,1034;5019,988;4883,944;4746,903;4609,864;4471,828;4332,793;4194,761;4055,731;3915,703;3776,677;3636,652;3496,630;3356,609;3216,590;3075,572;2935,556;2795,542;2654,529;2514,517;2373,506;2233,497;1953,481;1812,475;1532,465;1392,461;1253,458;973,454;834,452;695,451;556,451;416,450)
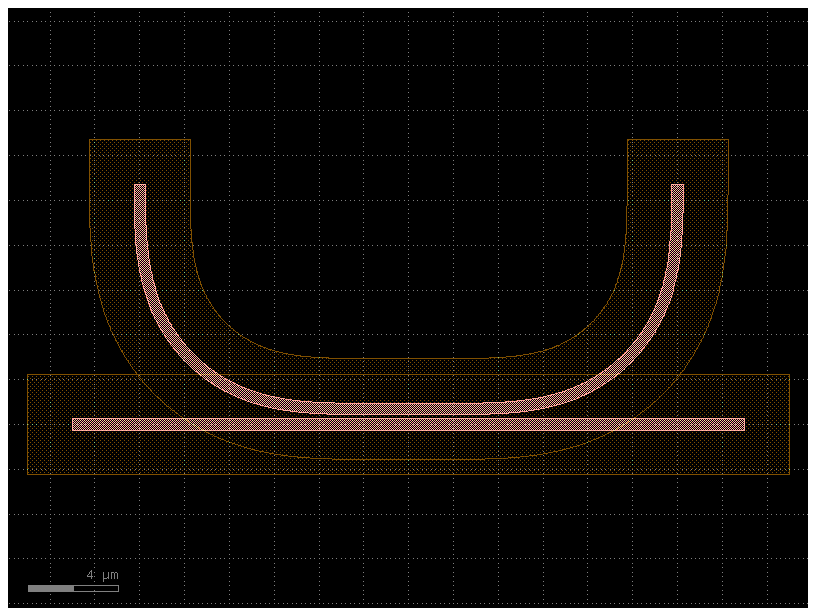
c2 = c.copy()
r = r.sized(2000)  # Note that the region is sized in DB units (1nm).
c2.add_polygon(r, layer=LAYER.SLAB90)
c2
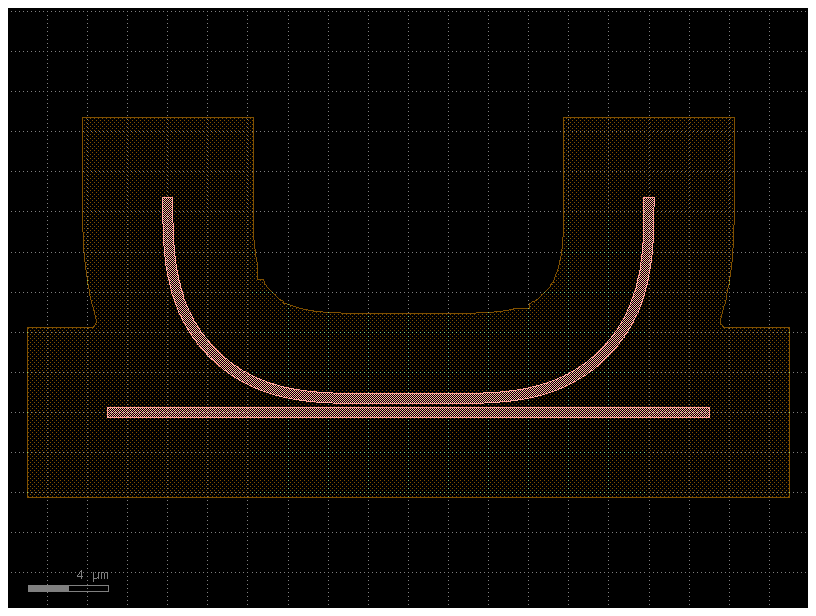
To avoid acute angles you can run over / under (dilation+erosion).
c2 = c.copy()

d = 800  # DB units
r = r.sized(+d + 2000)
r = r.sized(-d)
c2.add_polygon(r, layer=LAYER.SLAB90)
c2
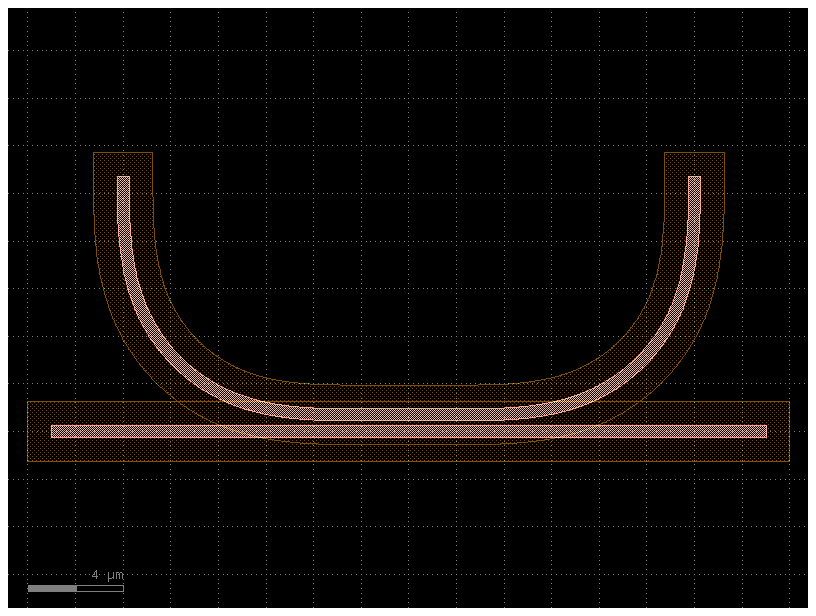
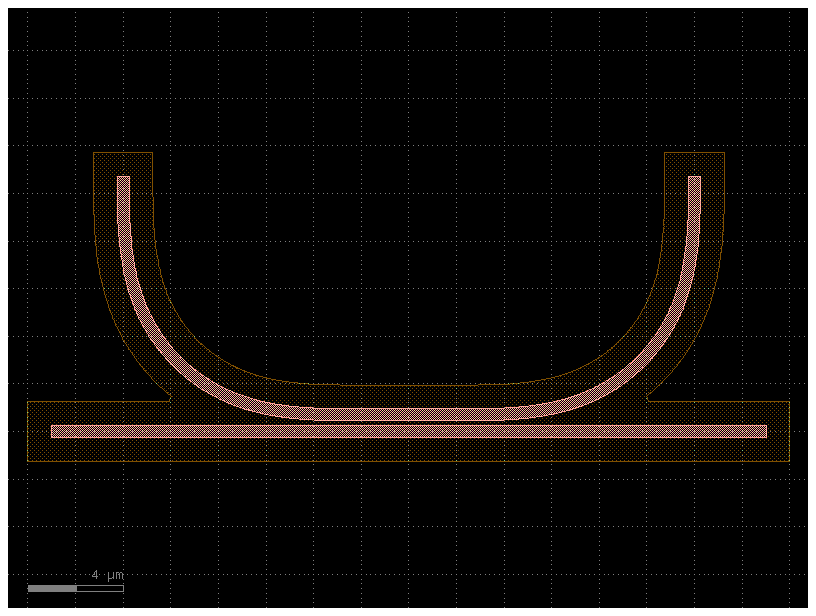
You can also apply it to a component directly.
c = gf.Component()
core = gf.components.coupler_ring()

clad = core.copy()
clad.offset(layer="WG", distance=1)
clad.remap_layers({"WG": "SLAB90"})

c.add_ref(core)
c.add_ref(clad)

c
c.over_under(layer="SLAB90", distance=0.2)
c
Outline#
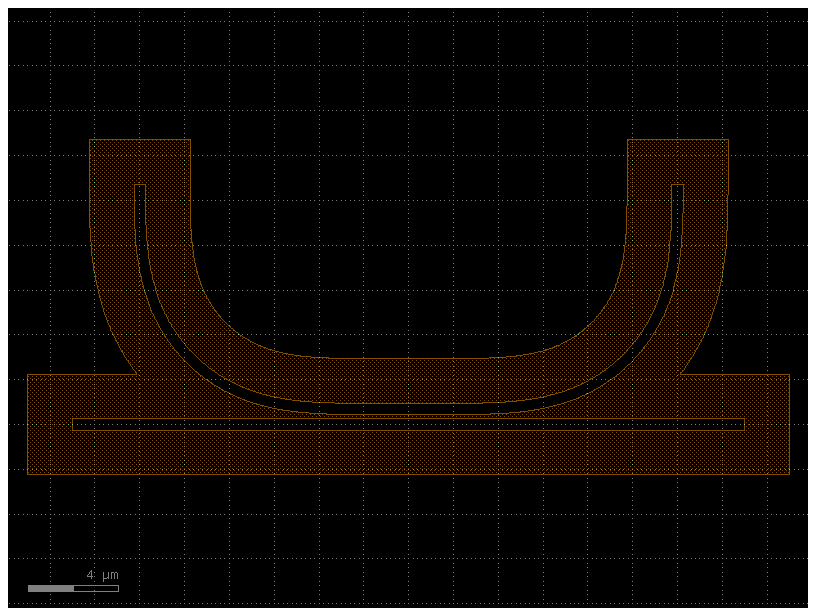
Notice that all operations with regions are in database units, where 1DBU is usually 1nm.
c2 = gf.Component()

d = 800
r = c.get_region(layer=LAYER.WG)
r_sized = r.sized(+2000)

r_outline = r_sized - r
c2.add_polygon(r_outline, layer=LAYER.SLAB90)
c2
Round corners#
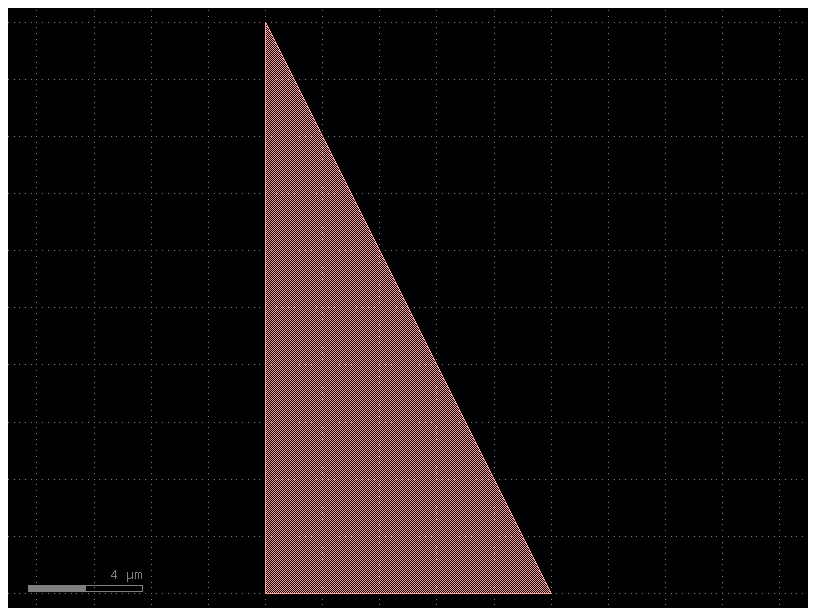
c = gf.components.triangle()
c
c2 = gf.Component()

rinner = 1000  # 	The circle radius of inner corners (in database units).
router = 1000  # 	The circle radius of outer corners (in database units).
n = 300  # 	The number of points per full circle.

# Round corners for one layer only.
for p in c.get_polygons()[LAYER.WG]:
    p_round = p.round_corners(rinner, router, n)
    c2.add_polygon(p_round, layer=LAYER.WG)

c2
c = gf.Component()
t = c << gf.components.triangle(x=10, y=20, layer="WG")
t = c << gf.components.triangle(x=20, y=40, layer="SLAB90")

c2 = gf.Component()
rinner = 1000
router = 1000
n = 300

# Round corners for all layers.
for layer, polygons in c.get_polygons().items():
    for p in polygons:
        p_round = p.round_corners(rinner, router, n)
        c2.add_polygon(p_round, layer=layer)

c2
Union#
import gdsfactory as gf

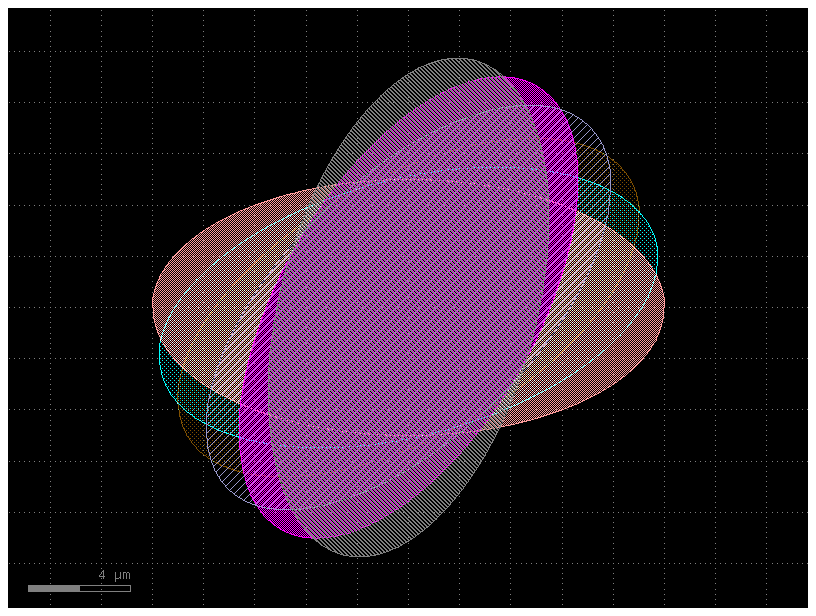
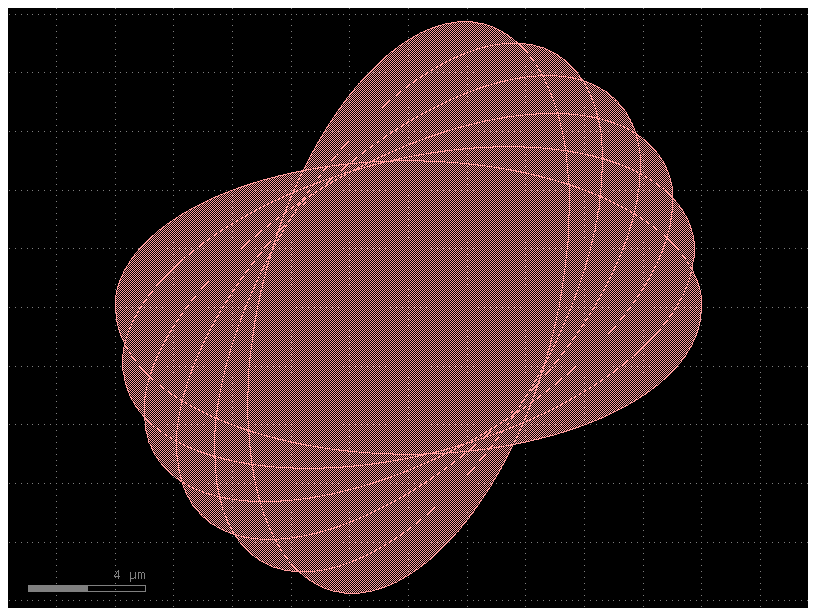
# This code creates a component containing six overlapping ellipses,
# each on a different layer and each rotated by an incrementally larger angle, creating a flower-like pattern.
c = gf.Component()
e0 = c << gf.components.ellipse(layer=(1, 0))
e1 = c << gf.components.ellipse(layer=(2, 0))
e2 = c << gf.components.ellipse(layer=(3, 0))
e3 = c << gf.components.ellipse(layer=(4, 0))
e4 = c << gf.components.ellipse(layer=(5, 0))
e5 = c << gf.components.ellipse(layer=(6, 0))

e1.rotate(15 * 1)
e2.rotate(15 * 2)
e3.rotate(15 * 3)
e4.rotate(15 * 4)
e5.rotate(15 * 5)

c
r = gf.Region()

for layer in c.layers:
    r = r + c.get_region(layer)

c2 = gf.Component()
c2.add_polygon(r, layer=(1, 0))
c2
Smooth#
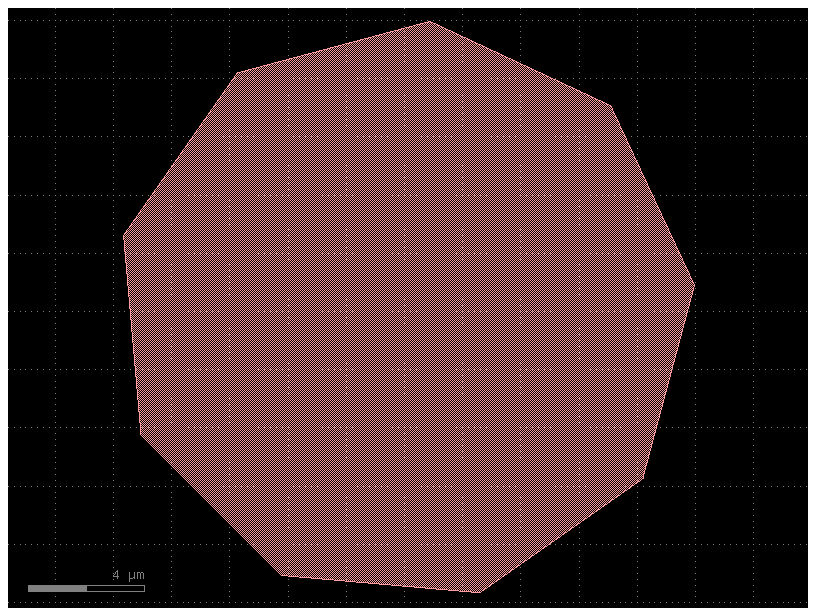
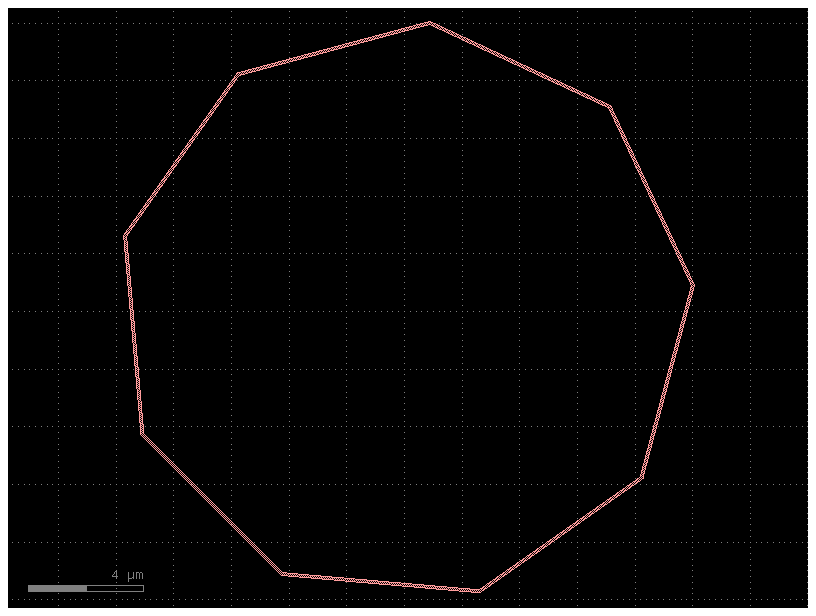
You can also simplify polygons.
c = gf.components.circle()
c2 = gf.Component()
region = c.get_region(layer=LAYER.WG, smooth=1)
c2.add_polygon(region, layer=LAYER.WG)
c2
As well as easily do boolean operations with regions.
c = gf.components.circle()
c2 = gf.Component()
region = c.get_region(layer=LAYER.WG, smooth=1)
region2 = region.sized(100)
region3 = region2 - region

c2.add_polygon(region3, layer=LAYER.WG)
c2
Importing GDS files#
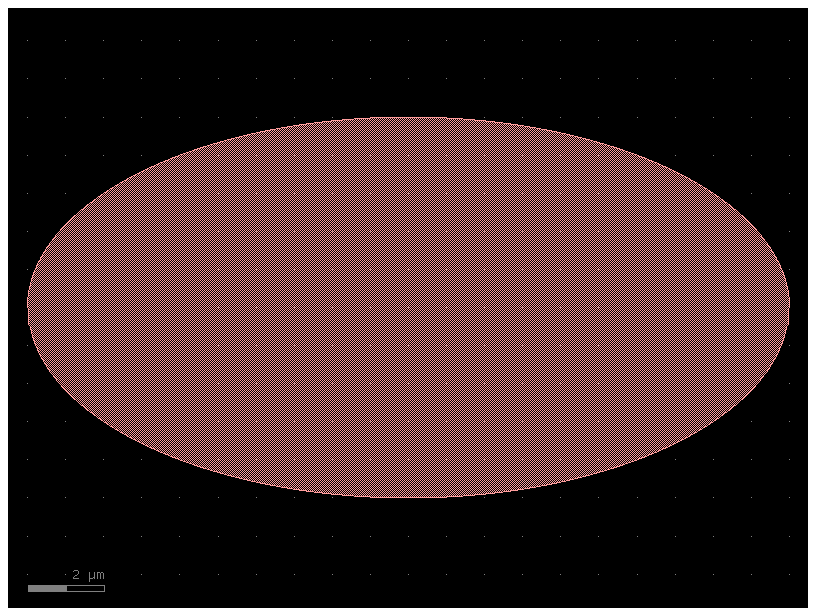
gf.import_gds() allows you to easily import external GDSII files. It imports a single cell from the external GDS file and converts it into a gdsfactory component.
D = gf.components.ellipse()
D.write_gds("myoutput.gds")
D2 = gf.import_gds(gdspath="myoutput.gds")
D2.plot()
2026-02-03 01:52:35.955 | ERROR    | kfactory.kcell:name:687 - Name conflict in kfactory.kcell::name at line 687
Renaming Unnamed_45 (cell_index=45) to ellipse_gdsfactorypcomponentspshapespellipse_R10_5_AR2p5_LWG would cause it to be named the same as:
 - ellipse_gdsfactorypcomponentspshapespellipse_R10_5_AR2p5_LWG (cell_index=44), function_name=ellipse, basename=ellipse_gdsfactorypcomponentspshapespellipse
Copying and extracting geometry#
E = gf.Component()
E.add_ref(gf.components.ellipse(layer=(1, 0)))
D = E.extract(layers=[(1, 0)])
D.plot()

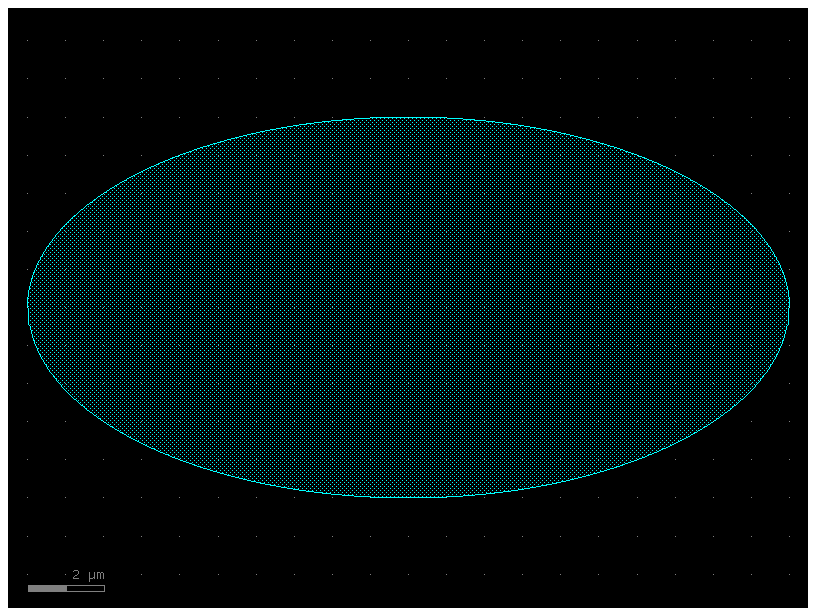
import gdsfactory as gf

X = gf.components.ellipse(layer=(2, 0))
c = X.copy()
c.plot()
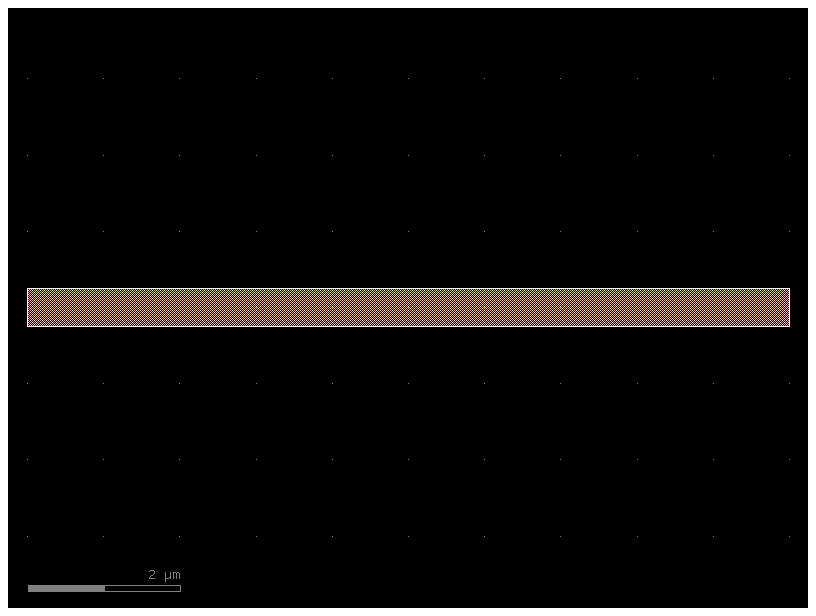
c = gf.c.straight()
c = c.copy()

 # Type: ignore to tell the static type checker, like Mypy or Pylance, to deliberately ignore a potential type error on that specific line of code.
 # In this case, the copy_layers method might be type-hinted to expect a dictionary with a more specific key type,
 # such as gf.typings.Layer, instead of a simple string like "WG". This might potentially flag as error or mismatch.
c.copy_layers(layer_map=dict(WG=(2, 0)), recursive=False)
c
Import Images into GDS#
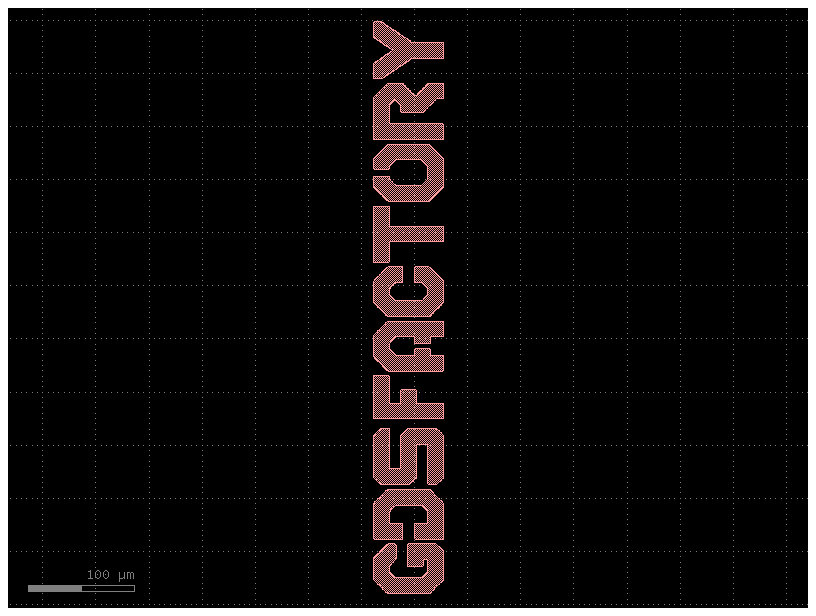
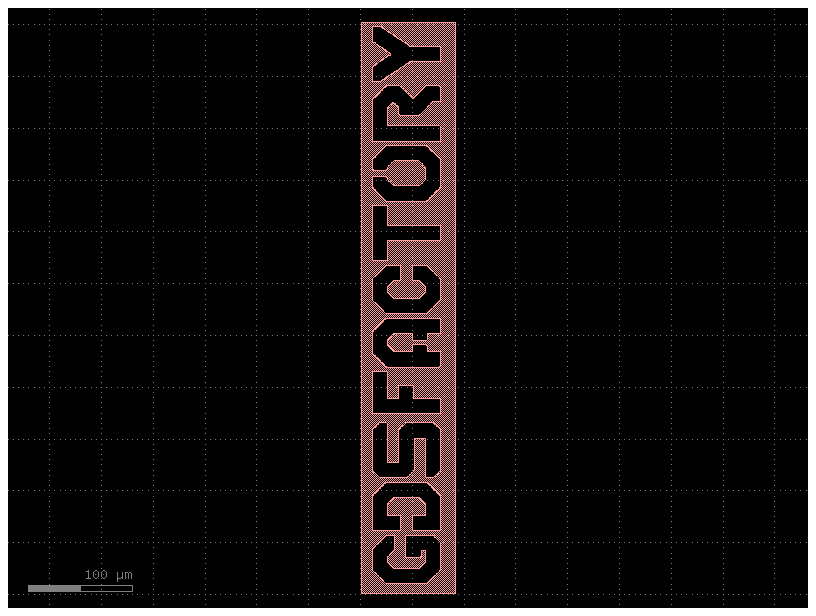
You can import your logo into GDS using the conversion from numpy arrays.
import gdsfactory as gf
from gdsfactory.config import PATH
from gdsfactory.read.from_np import from_image

c = from_image(
    PATH.module / "samples" / "images" / "logo.png", nm_per_pixel=500, invert=False
)
c.plot()
c = from_image(
    PATH.module / "samples" / "images" / "logo.png", nm_per_pixel=500, invert=True
)
c.plot()
Dummy Fill / Tiling#
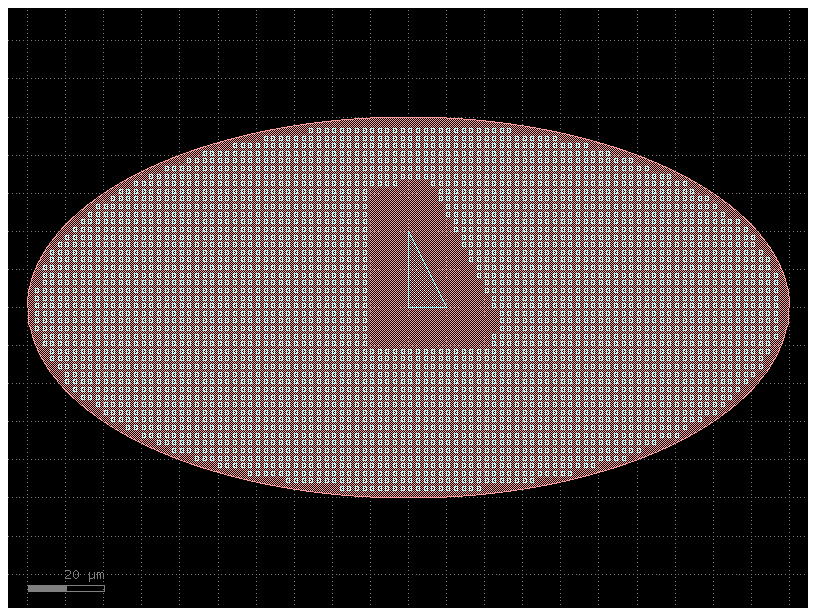
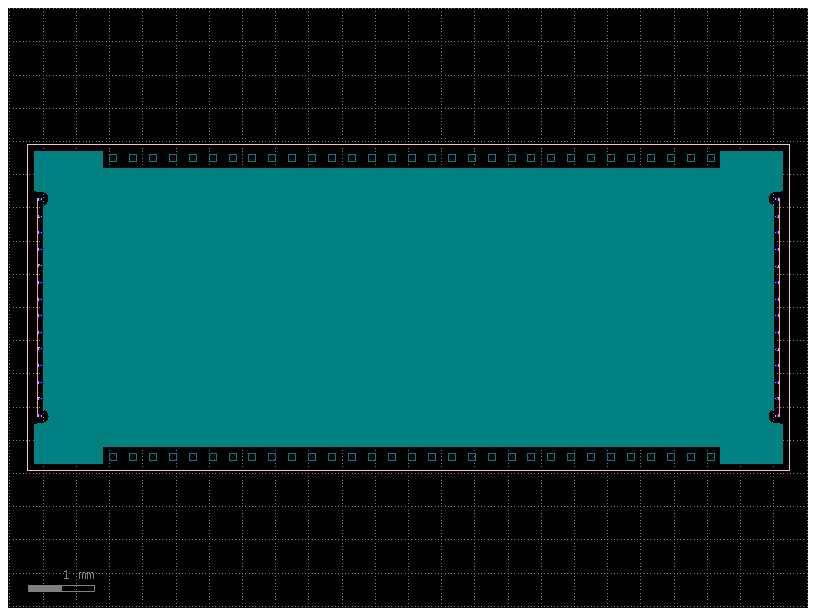
To keep constant density in some layers you can add dummy fill shapes.
For big layouts you should use a tiling processor.
import gdsfactory as gf

c = gf.Component()
c << gf.components.die_with_pads()
fill = gf.c.rectangle(layer="M3")
c.fill(
    fill_cell=fill,
    fill_layers=[("FLOORPLAN", -100)],
    exclude_layers=[
        ((1, 0), 100),
        ("M3", 100)
        ],
    x_space=1,
    y_space=1,
)
c
/home/runner/work/gdsfactory/gdsfactory/.venv/lib/python3.11/site-packages/kfactory/decorators.py:406: UserWarning: die_with_pads is deprecated and will be removed soon. Please use die_frame_with_pads instead
  cell = f(**params)  # type: ignore[call-arg]
/home/runner/work/gdsfactory/gdsfactory/gdsfactory/components/bends/bend_euler.py:110: UserWarning: {'width': 0.5} ignored for cross_section 'strip'
  x = gf.get_cross_section(cross_section, width=width or x.width)
@gf.cell
def fill_cell():
    c = gf.Component()
    c << gf.c.rectangle(layer=(3,0), size=(1,1))
    c << gf.c.rectangle(layer=(2,0), size=(1,1))
    return c

c = gf.Component()
r = c << gf.c.ellipse(layer=(1,0), radii=(100,50))
t = c << gf.c.triangle(layer=(2,0))

c.fill(fill_cell=fill_cell(),
    fill_layers=[("WG", -1)],
    exclude_layers=[((2,0), 10)],
    x_space=1,
    y_space=1,
)
c
