YAML Place and AutoRoute#
You have two options for working with gdsfactory:
python flow: you define your layout using python functions (Parametric Cells), and connect them with routing functions.
YAML Place and AutoRoute: you define your Component as Place and Route in YAML. From the netlist you can simulate the Component or generate the layout.
The YAML format contains the schematic together with placement information.
YAML is a human readable version of JSON that you can use to define placements and routes
to define a a YAML Component you need to define:
instances: with each instance setting
placements: with X and Y
And optionally:
routes: between instance ports
connections: to connect instance ports to other ports (without routes)
ports: define input and output ports for the top level component.
For using the Schematic YAML Place and AutoRoute we highly recommend using GDSFactory+ for a seamless and efficient design experience.
from IPython.display import Code

import gdsfactory as gf

gf.gpdk.PDK.activate()

filepath = "yaml_pics/pads.pic.yml"
Code(filepath, language="yaml+jinja")
instances:
  bl:
    component: pad
  tl:
    component: pad
  br:
    component: pad
  tr:
    component: pad

placements:
  tl:
    x: -200
    y: 500

  br:
    x: 400
    y: 400

  tr:
    x: 400
    y: 600

routes:
  electrical:
    settings:
      bend: wire_corner
      separation: 20
      cross_section: metal_routing
      allow_width_mismatch: True
    links:
      tl,e3: tr,e1
      bl,e3: br,e1
c = gf.read.from_yaml(filepath)
c

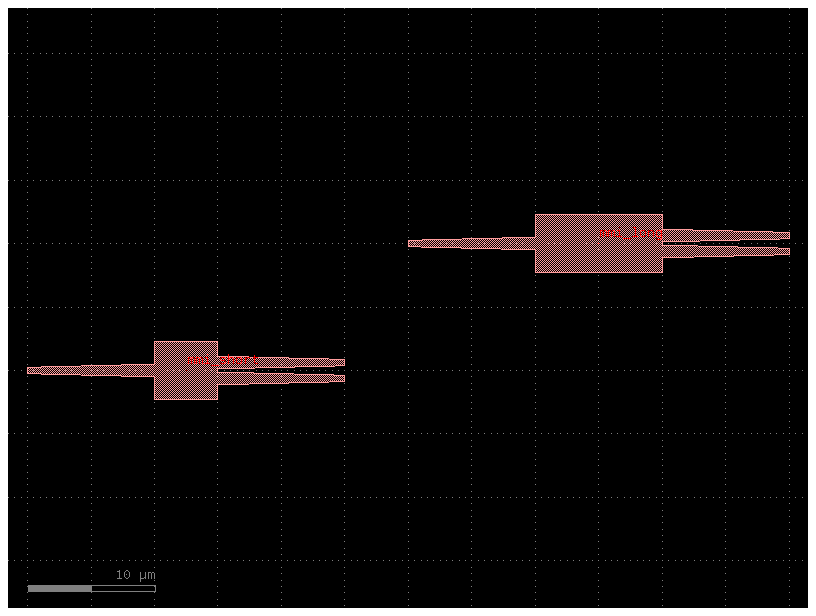
Let us start by defining the instances and placements section in YAML
Then place a mmi_long where you can place the o1 port at x=20, y=10
filepath = "yaml_pics/mmis.pic.yml"
Code(filepath, language="yaml+jinja")
instances:
  mmi_long:
    component: mmi1x2
    settings:
      width_mmi: 4.5
      length_mmi: 10
  mmi_short:
    component: mmi1x2
    settings:
      width_mmi: 4.5
      length_mmi: 5
placements:
  mmi_long:
    port: o1
    x: 20
    y: 10
    mirror: False
c = gf.read.from_yaml(filepath)
c.plot()
Ports#
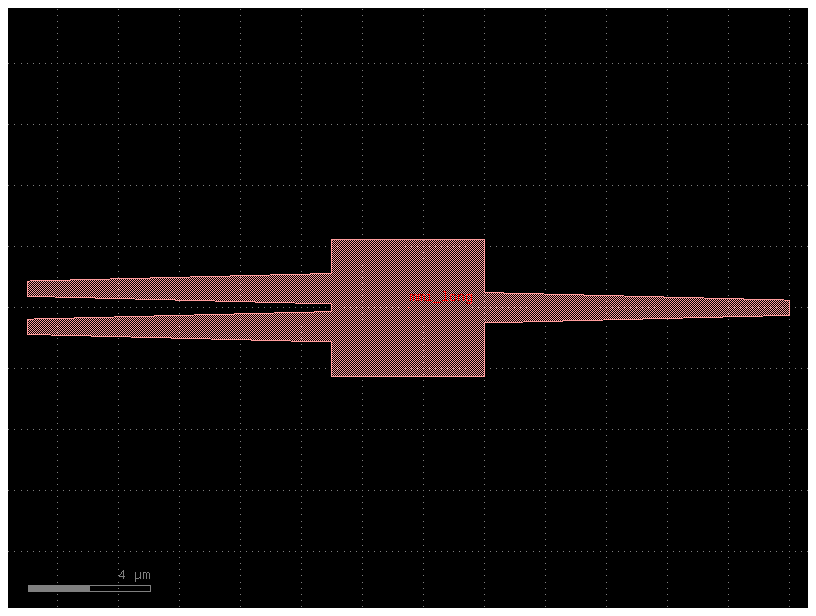
You can expose any ports of any instance to the new Component with a ports section in YAML.
Now let us expose all the ports from mmi_long into the new component.
Ports are exposed as new_port_name: instance_name, port_name.
filepath = "yaml_pics/ports_demo.pic.yml"
Code(filepath, language="yaml+jinja")
name: ports_demo

instances:
  mmi_long:
    component: mmi1x2
    settings:
      width_mmi: 4.5
      length_mmi: 5
placements:
  mmi_long:
    port: o1
    x: 20
    y: 10
    mirror: True
ports:
  o3: mmi_long,o3
  o2: mmi_long,o2
  o1: mmi_long,o1
c = gf.read.from_yaml(filepath)
c.plot()
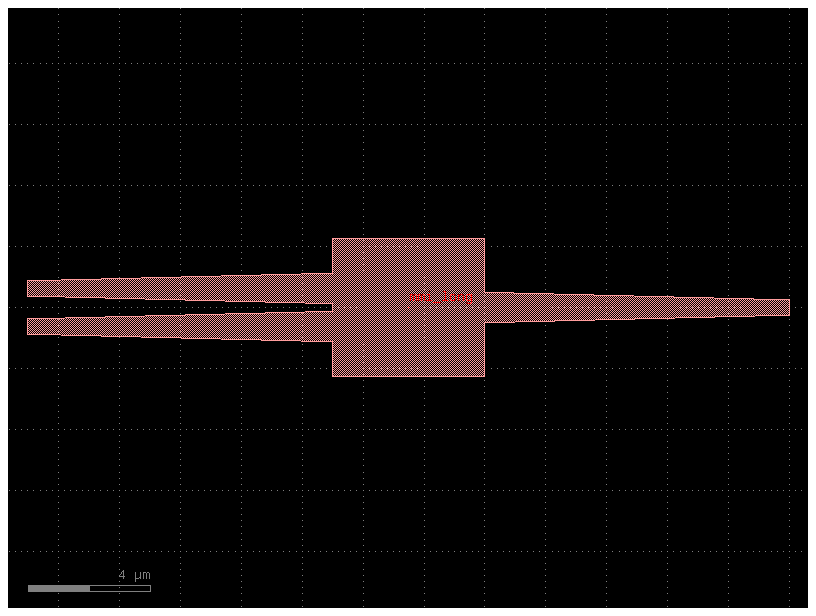
You can also define a mirror placement using a port.
Try mirroring with other ports o2, o3 or with other numbers. Try using different rotations as well, such as: 90, 180, 270.
filepath = "yaml_pics/mirror_demo.pic.yml"
Code(filepath, language="yaml+jinja")
name: mirror_demo
instances:
  mmi_long:
    component: mmi1x2
    settings:
      width_mmi: 4.5
      length_mmi: 5
placements:
  mmi_long:
    x: 0
    y: 0
    mirror: o1
    rotation: 0
c = gf.read.from_yaml(filepath)
c.plot()
Connections#
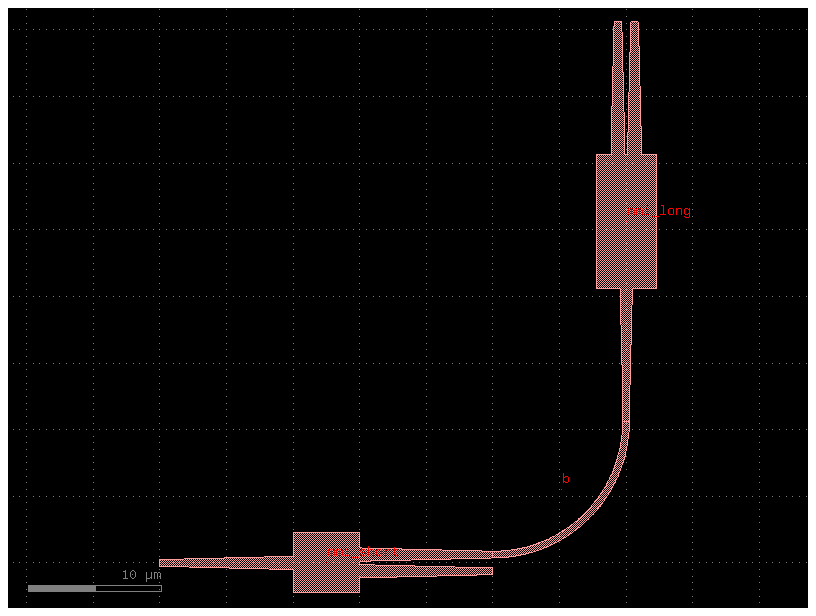
You can connect any two instances by defining a connections section in the YAML file.
It follows the syntax instance_source,port : instance_destination,port.
filepath = "yaml_pics/connections_demo.pic.yml"
Code(filepath, language="yaml+jinja")
name: connections_demo
instances:
  b:
    component: bend_circular
  mmi_long:
    component: mmi1x2
    settings:
      width_mmi: 4.5
      length_mmi: 10
  mmi_short:
    component: mmi1x2
    settings:
      width_mmi: 4.5
      length_mmi: 5
placements:
  mmi_short:
    port: o1
    x: 10
    y: 20
connections:
  b,o1: mmi_short,o2
  mmi_long,o1: b,o2
ports:
  o1: mmi_short,o1
  o2: mmi_long,o2
  o3: mmi_long,o3
c = gf.read.from_yaml(filepath)
c.plot()
Relative port placing
You can also place a component with respect to another instance port.
Additionally, you can also define an x and y offset with dx and dy.
filepath = "yaml_pics/relative_port_placing.pic.yml"
Code(filepath, language="yaml+jinja")
name: relative_port_placing
instances:
  mmi_long:
    component: mmi1x2
    settings:
      width_mmi: 4.5
      length_mmi: 10
  mmi_short:
    component: mmi1x2
    settings:
      width_mmi: 4.5
      length_mmi: 5
placements:
  mmi_short:
    port: o1
    x: 0
    y: 0
  mmi_long:
    port: o1
    x: mmi_short,o2
    y: mmi_short,o2
    dx: 10
    dy: -10
c = gf.read.from_yaml(filepath)
c.plot()

Routes#
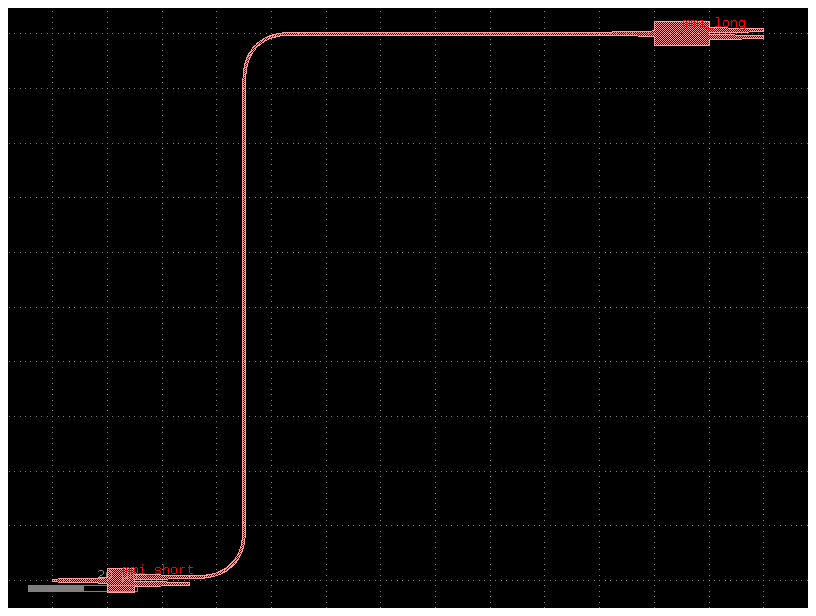
You can define routes between two instances by defining a routes section in YAML.
it follows the syntax:
routes:
    route_name:
        links:
            instance_source,port: instance_destination,port
        settings:  # for the route (optional)
            waveguide: strip
            width: 1.2
filepath = "yaml_pics/routes.pic.yml"
Code(filepath, language="yaml+jinja")
name: with_routes
instances:
    mmi_long:
      component: mmi1x2
      settings:
        width_mmi: 4.5
        length_mmi: 10
    mmi_short:
      component: mmi1x2
      settings:
        width_mmi: 4.5
        length_mmi: 5

placements:
    mmi_long:
        x: 100
        y: 100
routes:
    optical:
        links:
            mmi_short,o2: mmi_long,o1
        settings:
            cross_section: strip
c = gf.read.from_yaml(filepath)
c.plot()
Routes with steps#
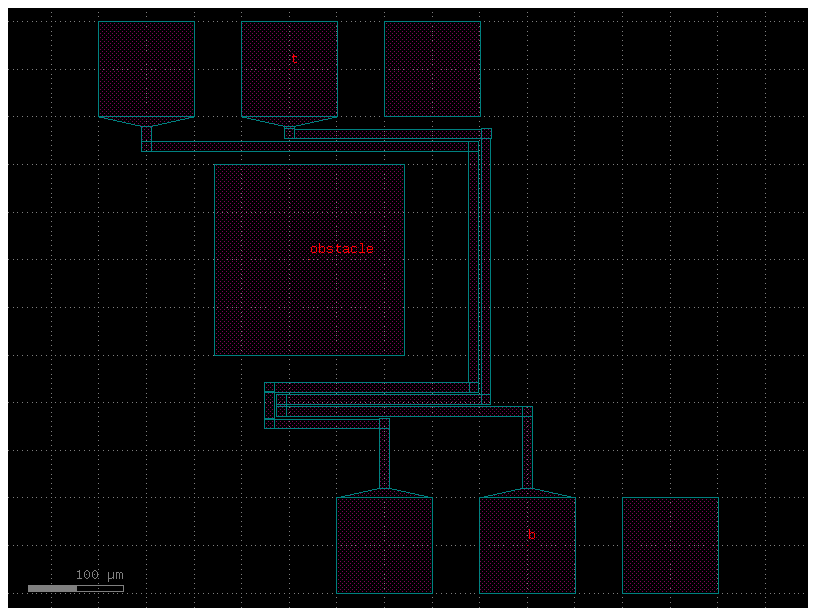
You can define steps on the route as part of the settings:
filepath = "yaml_pics/routes_steps.pic.yml"
Code(filepath, language="yaml+jinja")
instances:
  t:
    component: pad_array
    settings:
      port_orientation: 270
      columns: 3
  b:
    component: pad_array
    settings:
      port_orientation: 90
      columns: 3
  obstacle:
    component: rectangle
    settings:
      size: [200, 200]
      layer: M3

placements:
  t:
    x: -250
    y: 500
  obstacle:
    x: -179
    y: 200
routes:
  route1:
    routing_strategy: route_bundle
    settings:
      cross_section: metal_routing
      bend: wire_corner
      steps:
        - dy: 100
          dx: -100
        - dx: 200
        - dy: 100
    links:
      b,e11: t,e11
      b,e12: t,e12
c = gf.read.from_yaml(filepath)
c.plot()
Routes with waypoints#
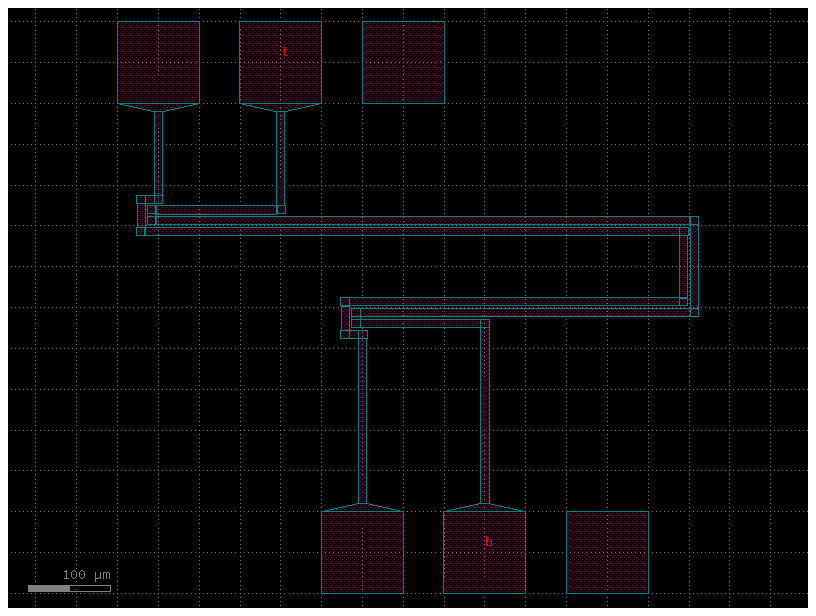
You can define waypoints along the route as part of the settings:
filepath = "yaml_pics/routes_waypoints.pic.yml"
Code(filepath, language="yaml+jinja")
instances:
  t:
    component: pad_array
    settings:
      port_orientation: 270
      columns: 3
  b:
    component: pad_array
    settings:
      port_orientation: 90
      columns: 3

placements:
  t:
    x: -250
    y: 600
routes:
  route1:
    routing_strategy: route_bundle
    settings:
      bend: wire_corner
      cross_section: metal_routing
      waypoints:
        - [0, 300]
        - [400, 300]
        - [400, 400]
        - [-250, 400]
    links:
      b,e11: t,e11
      b,e12: t,e12
c = gf.read.from_yaml(filepath)
c.plot()
Instances, placements, connections, ports, routes#
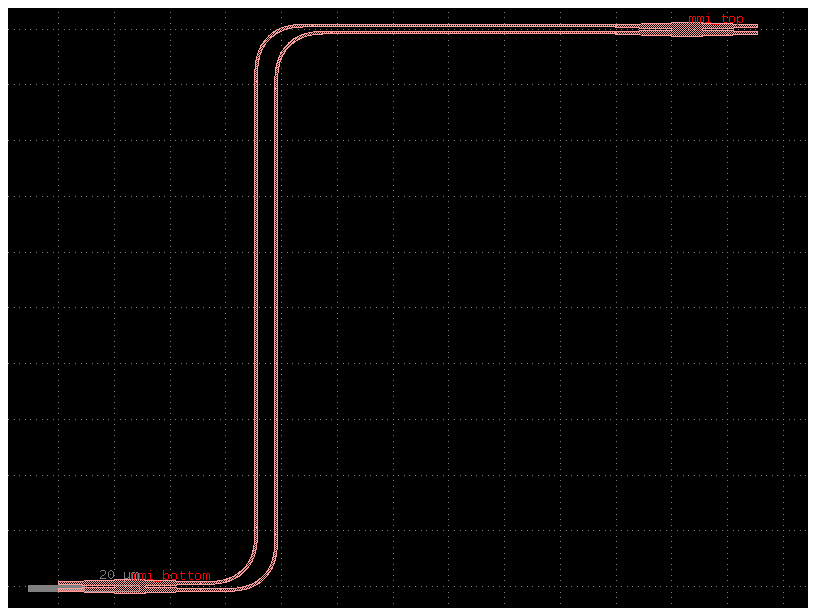
Let us combine everything you learned so far.
You can define the netlist connections of a component by using a netlist in YAML format.
Note that you define the connections as instance_source.port -> instance_destination.port so the order is important and therefore you can only
change the position of the instance_destination.
You can define several routes that will be connected using gf.routing.route_bundle.
filepath = "yaml_pics/routes_mmi.pic.yml"
Code(filepath, language="yaml+jinja")
name: routes_mmi

instances:
  mmi_bottom:
    component: mmi2x2
  mmi_top:
    component: mmi2x2

placements:
  mmi_top:
    x: 100
    y: 100

routes:
  optical:
    links:
      mmi_bottom,o4: mmi_top,o1
      mmi_bottom,o3: mmi_top,o2
    settings:
        cross_section: strip
c = gf.read.from_yaml(filepath)
c.plot()
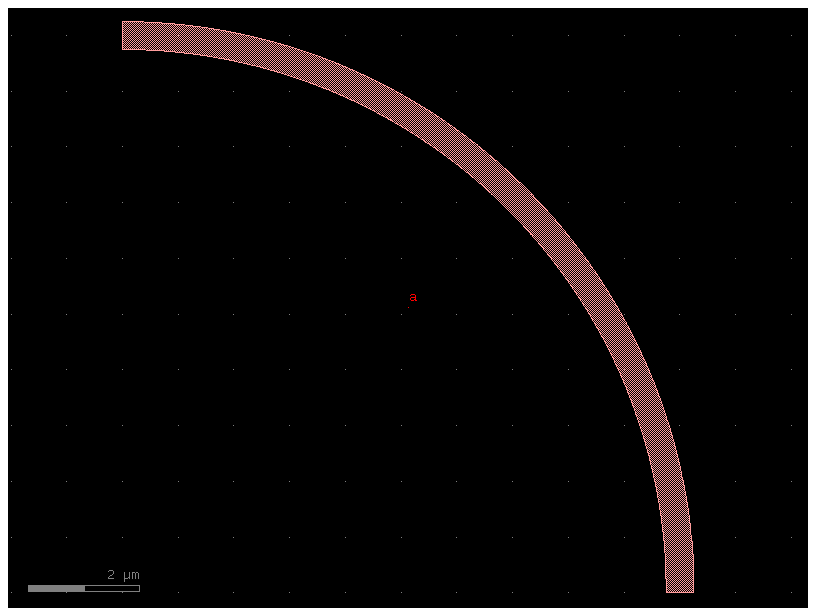
For placement you can define x, y, rotation and mirror:
Notice that mirror is defined as mirror: True and rotation as rotation: 90, mirror is equivalent to mirror_y, so if you want to mirror in the x axis you can use mirror and rotate it by 180 degrees.
mirror = """
instances:
  a:
    component: bend_circular

placements:
  a:
    mirror: True
"""
gf.read.from_yaml(mirror)
mirror = """
instances:
  a:
    component: bend_circular

placements:
  a:
    mirror: True
    rotation: 180
"""
gf.read.from_yaml(mirror)

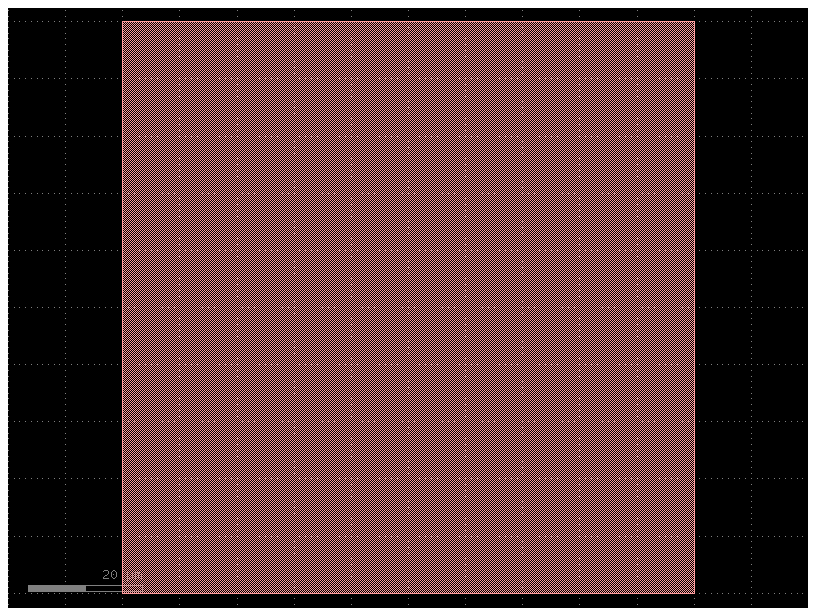
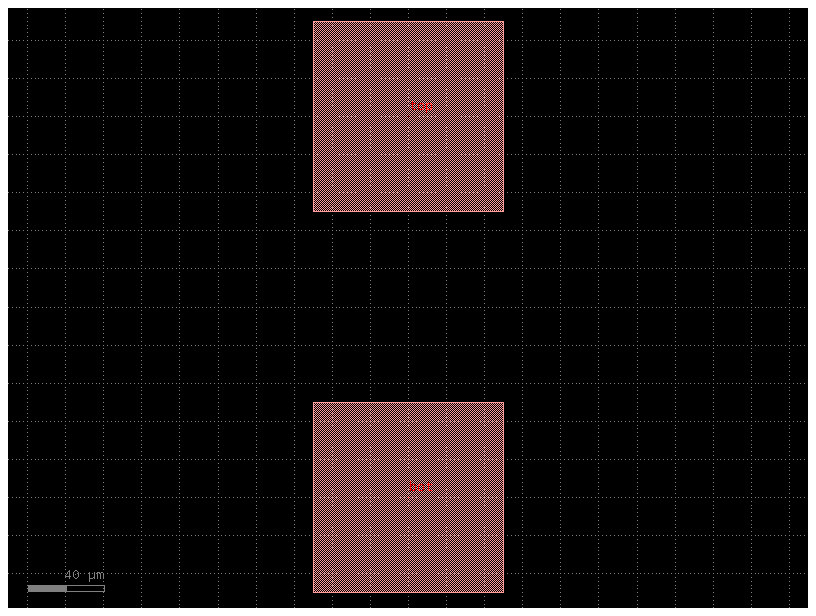
You can also add custom component_factories to gf.read.from_yaml:
@gf.cell
def pad_new(size=(100, 100), layer=(1, 0)):
    c = gf.Component()
    compass = c << gf.components.compass(size=size, layer=layer)
    c.ports = compass.ports
    return c

# gf.get_active_pdk(): This retrieves the currently active PDK.
# .register_cells(...): This method adds a new component factory to the PDK.
# The argument pad_new=pad_new tells the PDK: "Add a new component to your library, name it 'pad_new', and use the pad_new function to create it."
gf.get_active_pdk().register_cells(pad_new=pad_new)
c = pad_new()
c.plot()
filepath = "yaml_pics/new_factories.pic.yml"
Code(filepath, language="yaml+jinja")
name: new_factories
instances:
  bot:
    component: pad_new
  top:
    component: pad_new
placements:
  top:
    x: 0
    y: 200
c = gf.read.from_yaml(filepath)
c.plot()
filepath = "yaml_pics/routes_custom.pic.yml"
Code(filepath, language="yaml+jinja")
instances:
  t:
    component: pad_array
    settings:
      port_orientation: 270
      columns: 3
  b:
    component: pad_array
    settings:
      port_orientation: 90
      columns: 3


placements:
  t:
    x: 200
    y: 400
routes:
  electrical:
    settings:
      bend: wire_corner
      start_straight_length: 150
      end_straight_length: 150
      cross_section: metal_routing
      allow_width_mismatch: True

    links:
      t,e11: b,e11
      t,e13: b,e13
c = gf.read.from_yaml(filepath)
c.plot()
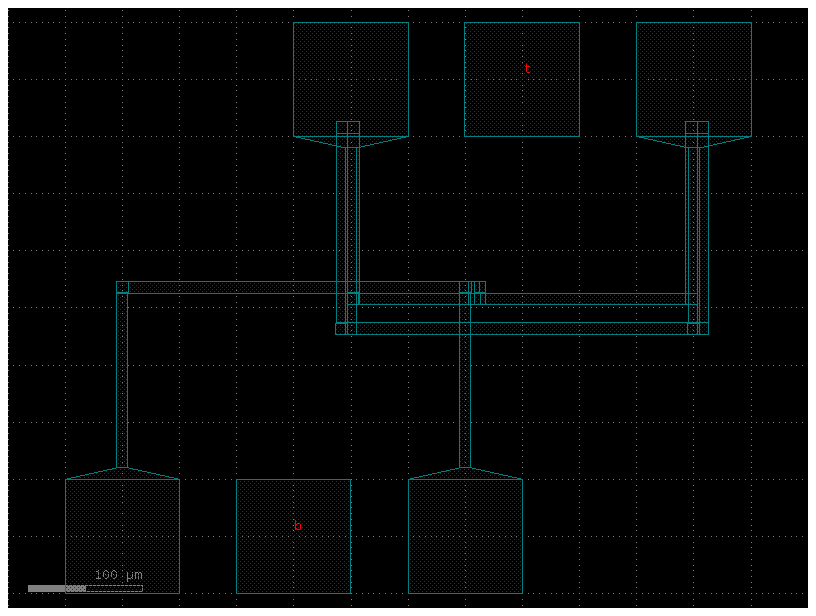
Also, you can define route bundles with different settings and specify the route factory as a parameter as well as the settings for that particular route alias.
Arrays#
You can also define arrays and connect them to the array ports using the instance<column,row>,port_name syntax:
# Connect port o1 of the component instance named b directly to port o2 of the component instance sa<1.1>
# Note: sa(straight array) is used here, but the component instance can be named anything.

sample_array = """
instances:
  sa:
    component: straight
    array:
        columns: 2
        column_pitch: 20
        rows: 3
        row_pitch: 20

  b:
    component: bend_euler

connections:
    b,o1: sa<1.1>,o2

routes:
    b1:
        settings:
          cross_section: strip
        links:
            sa<0.0>,o2: sa<1.0>,o1

ports:
    o1: b,o2
    o2: sa<0.0>,o1
"""

gf.read.from_yaml(sample_array)
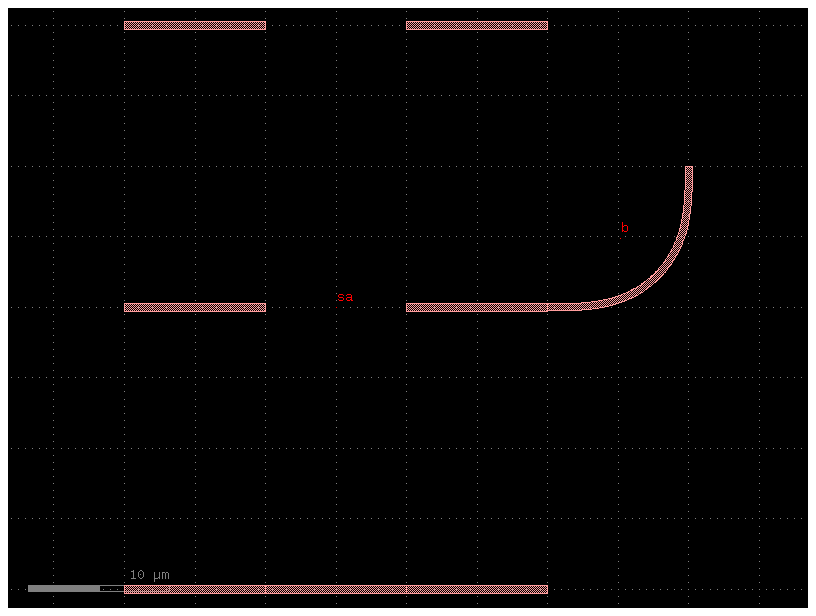
Arrays with routes#
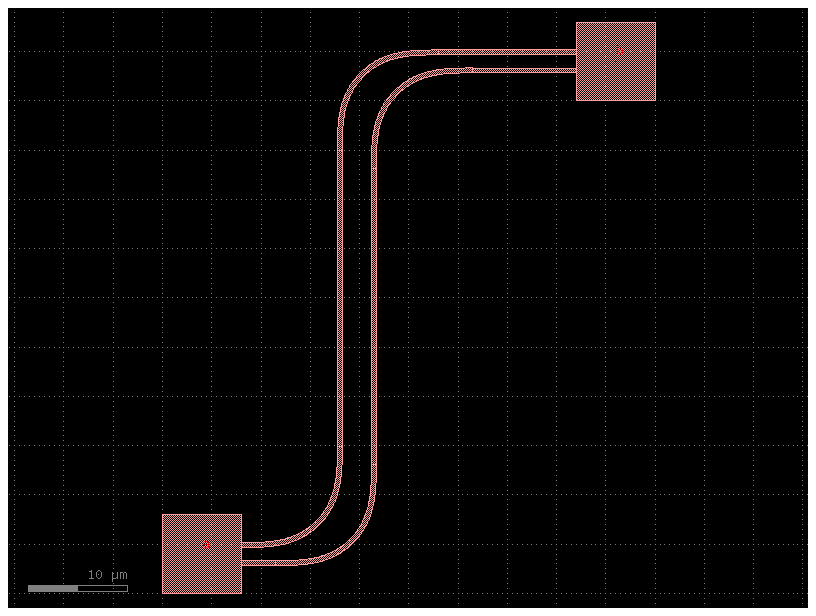
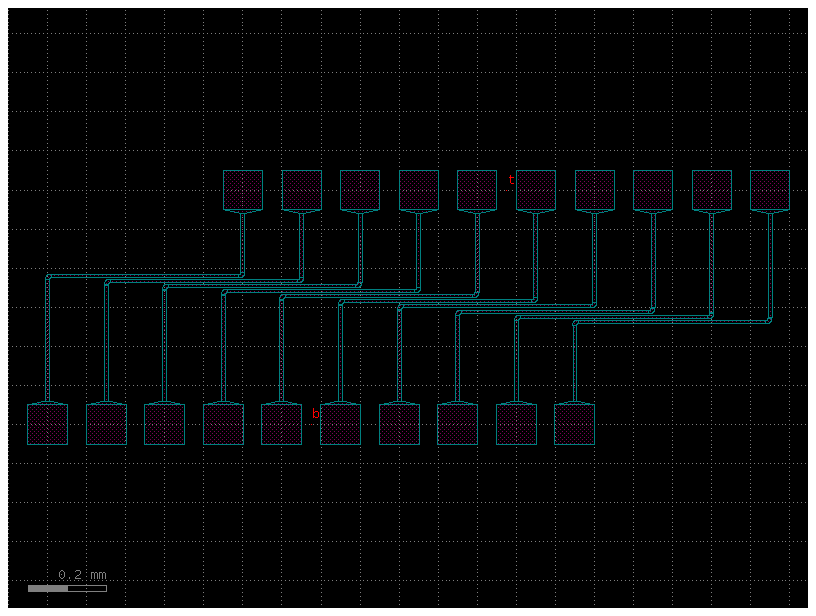
You can also define groups of route ports in a group using the instance_name,port_base:index_start:index_end syntax:
For example, if you have an instance a with o3 and o4 ports, you can define a group of ports a,o:3:4 to connect the o3 and o4 ports of the instance a to the same port of another instance b.
port_array_optical = """
instances:
  a:
    component: nxn
  b:
    component: nxn

placements:
  b:
    x: 50
    y: 50
    mirror: True
    rotation: 180

routes:
  optical:
    settings:
        cross_section: strip
    links:
      a,o:3:4: b,o:3:4
"""

gf.read.from_yaml(port_array_optical)
/home/runner/work/gdsfactory/gdsfactory/gdsfactory/read/from_yaml.py:813: UserWarning: Bundle format 'inst,port:{i}:{j}' (with two columns) has been deprecated. Please use 'inst,port{i}-{j}' (with a single dash)
  c = _add_routes(c, refs, net.routes, routing_strategies)
port_array_electrical = """
instances:
  t:
    component: pad_array
    settings:
      port_orientation: 270
      columns: 10
      auto_rename_ports: True
  b:
    component: pad_array
    settings:
      port_orientation: 90
      columns: 10
      auto_rename_ports: True

placements:
  t:
    x: 500
    y: 600

routes:
  electrical:
    settings:
      start_straight_length: 150
      end_straight_length: 150
      cross_section: metal_routing
      allow_width_mismatch: True
      sort_ports: True
    links:
      t,e:10:1: b,e:1:10
"""

gf.read.from_yaml(port_array_electrical)
Jinja Pcells#
You use jinja templates in YAML cells to define Pcells.
from IPython.display import Code

import gdsfactory as gf
from gdsfactory.read import cell_from_yaml_template

jinja_yaml = """
default_settings:
    length_mmi:
      value: 10
      description: "The length of the long MMI"
    width_mmi:
      value: 5
      description: "The width of both MMIs"

instances:
    mmi_long:
      component: mmi1x2
      settings:
        width_mmi: {{ width_mmi }}
        length_mmi: {{ length_mmi }}
    mmi_short:
      component: mmi1x2
      settings:
        width_mmi: {{ width_mmi }}
        length_mmi: 5
connections:
    mmi_long,o2: mmi_short,o1

ports:
    o1: mmi_long,o1
    o2: mmi_short,o2
    o3: mmi_short,o3
"""
pic_filename = "demo_jinja.pic.yml"

# A string variable named jinja_yaml (which contains a YAML netlist with Jinja2 templating logic) is written to a file named demo_jinja.pic.yml.
with open(pic_filename, mode="w") as f:
    f.write(jinja_yaml)

# The cell_from_yaml_template function reads the .yml file,
# processes the Jinja2 template to generate a standard YAML netlist, and then uses that netlist to build a gdsfactory component.
pic_cell = cell_from_yaml_template(pic_filename, name="demo_jinja")

# The newly created component is added to the active Process Design Kit (PDK) under the name demo_jinja,
# making it easily accessible for reuse in other parts of the design.
gf.get_active_pdk().register_cells(
    demo_jinja=pic_cell
)  # Now let us register this cell so we can use it later.
Code(filename=pic_filename, language="yaml+jinja")
default_settings:
    length_mmi:
      value: 10
      description: "The length of the long MMI"
    width_mmi:
      value: 5
      description: "The width of both MMIs"

instances:
    mmi_long:
      component: mmi1x2
      settings:
        width_mmi: {{ width_mmi }}
        length_mmi: {{ length_mmi }}
    mmi_short:
      component: mmi1x2
      settings:
        width_mmi: {{ width_mmi }}
        length_mmi: 5
connections:
    mmi_long,o2: mmi_short,o1

ports:
    o1: mmi_long,o1
    o2: mmi_short,o2
    o3: mmi_short,o3
You will see that this generated a python function, with a real signature, default arguments, docstring and all!
help(pic_cell)
Help on function demo_jinja:

demo_jinja(*, length_mmi=10, width_mmi=5) -> gdsfactory.component.Component
    demo_jinja: a templated yaml cell. This cell accepts keyword arguments only

    Keyword Args:
        length_mmi: The length of the long MMI
        width_mmi: The width of both MMIs
You can instantiate this cell without arguments to see the default implementation.
c = pic_cell()
c.plot()

Or you can provide arguments explicitly, like a normal cell. Note however that YAML-based cells only accept keyword arguments, since yaml dictionaries are inherently unordered.
c = pic_cell(length_mmi=100)
c.plot()

